
How to set up tournament registration on LADER
Set up pricing and the registration form, then turn on waitlists, waivers, DUPR, coupons and membership requirements.
In this video
Prefer to read?
Transcript
Now set up how players register: pricing, the registration form, and optional add-ons like waitlists, waivers, DUPR, coupons and memberships.
Open Registration Settings, under Management. The banner at the top tells you whether you're accepting registrations, and if not, what's left to do.
Availability and Pricing are required. Everything under Optional Add-ons is extra. We'll turn on every one of them.
Start with Pricing. Choose your currency, and set the registration fee players pay for each division they enter. You can also set different fees for specific divisions, and add early bird and multi-division discounts. Click Save Changes.
Pricing now shows as configured, and the banner says registrations are turned off. We'll turn them on at the very end.
The Registration Form is the set of questions players answer when they register. New tournaments start with email, phone number and date of birth. Click Edit to add more. We'll add the built-in Emergency Contact section, and save.
Now the add-ons. Waitlists let players join a queue when a division is full. Turn on Enable Waitlist.
When a spot opens up, the next player gets a limited-time offer to claim it. Choose whether offers go out automatically or manually, set how long players have to claim a spot, and click Save Changes.
Waivers. Players must accept every waiver you add before their registration is complete. Click Add Waiver, then Create New Waiver.
Give it a name, paste in your waiver text, and click Create. The waiver is saved to your organization, so you can reuse it at future events.
DUPR. Turn on Require DUPR Connection, and players connect their DUPR account as part of registering. Turn on Enforce DUPR rating ranges, and players can only enter divisions that match their rating. Both switches save straight away.
With rating ranges on, set the DUPR range each division allows. LADER can suggest them from each division's skill level: choose a tolerance, click Apply to, and pick the divisions without a range. You can still edit any range by hand.
Coupons are discount codes players enter at checkout. Click Create Coupon.
Give the coupon an internal name, add one or more codes, and set the discount: a percentage or a fixed amount. You can limit it to certain divisions, set usage limits, and an expiration date. Click Create Coupon.
You can also accept your organization's own coupons here, with the Organization coupons switch.
The last add-on is Memberships: players need an active membership with your organization to register. Click Add Membership Requirement.
A requirement needs a published membership tier, and our organization doesn't have one yet. So let's create one first.
To get to your organization's page, click Home in the tournament menu, then your organization's name under the tournament title.
Then open the Admin menu, and choose Memberships.
Click Create Tier.
Name the tier and describe what members get. The preview on the right shows how it will look on your public memberships page.
Under Periods and Pricing, set the price and the dates the membership is valid for, then click Publish Tier.
Now back in the tournament's Registration Settings, add the requirement: choose your organization, click Continue, pick the tiers that qualify, and click Submit.
Players without a membership can buy one as part of registering.
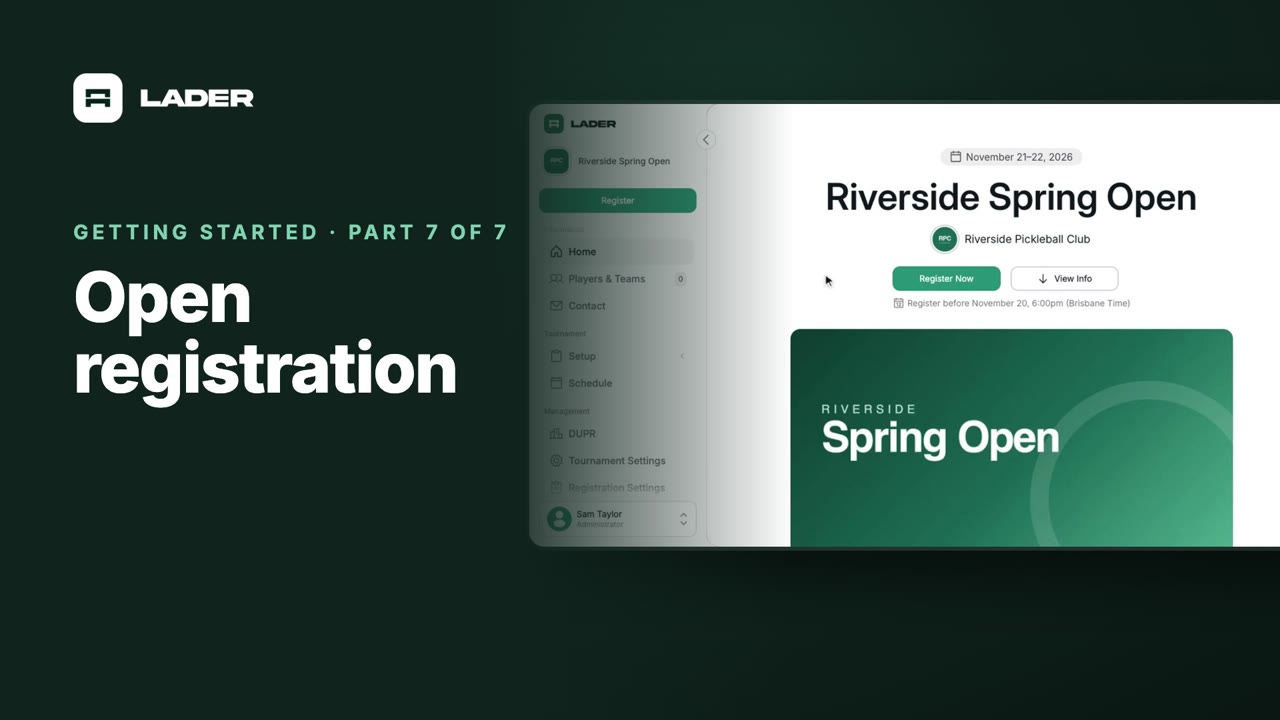
That's it for this part. Next up: opening registration.
Still stuck?
Send us a message and we will walk you through it, or book a demo and we will show you live.
More in Getting started
The clubs, events and people shown are fictional demo data. Narration uses an AI-generated voice.